Messaging
Receiving a Text Message with the Telnyx SMS Python SDK
Messaging engineer, Badal Moradia walks you through how to set up your Telnyx account so you can start receiving text messages.

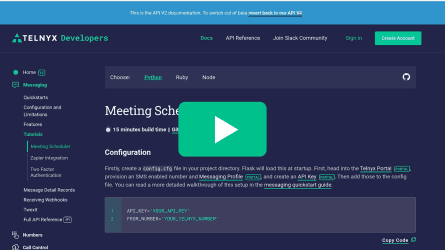
Messaging engineer, Badal Moradia walks you through how to set up your Telnyx account so you can start receiving text messages using our SMS Python SDK. Watch the video below:
Learn More
Step 1: Make sure you have Flask and the Telnyx SDK installed, as well as the requests library. More information can be found on the full guide link above.
Step 2: Create a Flask application to accept webhooks. Create a new file called receive.py and copy the code below into the file. We'll go through the steps one by one.
Make the code from the Flask library available in the receive.py file.
Create a new instance of the Flask class, passing in the module attribute
Next, you’ll define a route using a decorator function. We define the path as
Finally, the print function will print the body of the request so you can see it in your terminal.
The last lines in the file check to see if the name of the module is
All together, it should look like this:
Step 3: In your Telnyx Mission Control Portal, go to the “Auth” link in the left nav and create a new v2 API key and paste in for “YOUR_API_KEY”.
Step 4: In the “Numbers” tab in Mission Control, make sure you have a number available associated with a messaging profile.
How to purchase a phone number
How to create a messaging profile
Step 5: From your terminal, run the below:
You should see something like the following:
This means our server is listening on port 5000. You're almost ready to receive an SMS or MMS.
Step 6: Set up ngrok or a similar tunneling service that enables you to receive webhooks from inbound messages to your newly created application on your local webserver.
Step 7: Go to your terminal, and set up your secure tunnel by typing “./ngrok http 8000”. Copy the forwarding domain from ngrok.
Step 8: Head back to your Mission Control Portal, click on “Messaging” and go to your Messaging Profile. Click the edit [✎] icon and paste the forwarding domain you copied under “Send a webhook to this URL:” with one change: include “/webhooks” at the end of the domain to direct the request to the webhook endpoint in your Flask app.

Step 9: Head back to your code and change your Flask app “port” from 5000 to 8000.
Run your code, and you should be able to see your Flask app running on localhost:8000. Test by sending a message to the number you associated with your Messaging Profile from your phone, and you should be able to see the event printed on your terminal!
Questions about your set up? We’re here to help! Our support team is available in Mission Control 24/7.
Take advantage of insights from 1 billion+ messages with our '2023 Guide to SMS and MMS'. Download your copy to learn from Telnyx experts and shape your ideal SMS/MMS strategy.
Share on Social